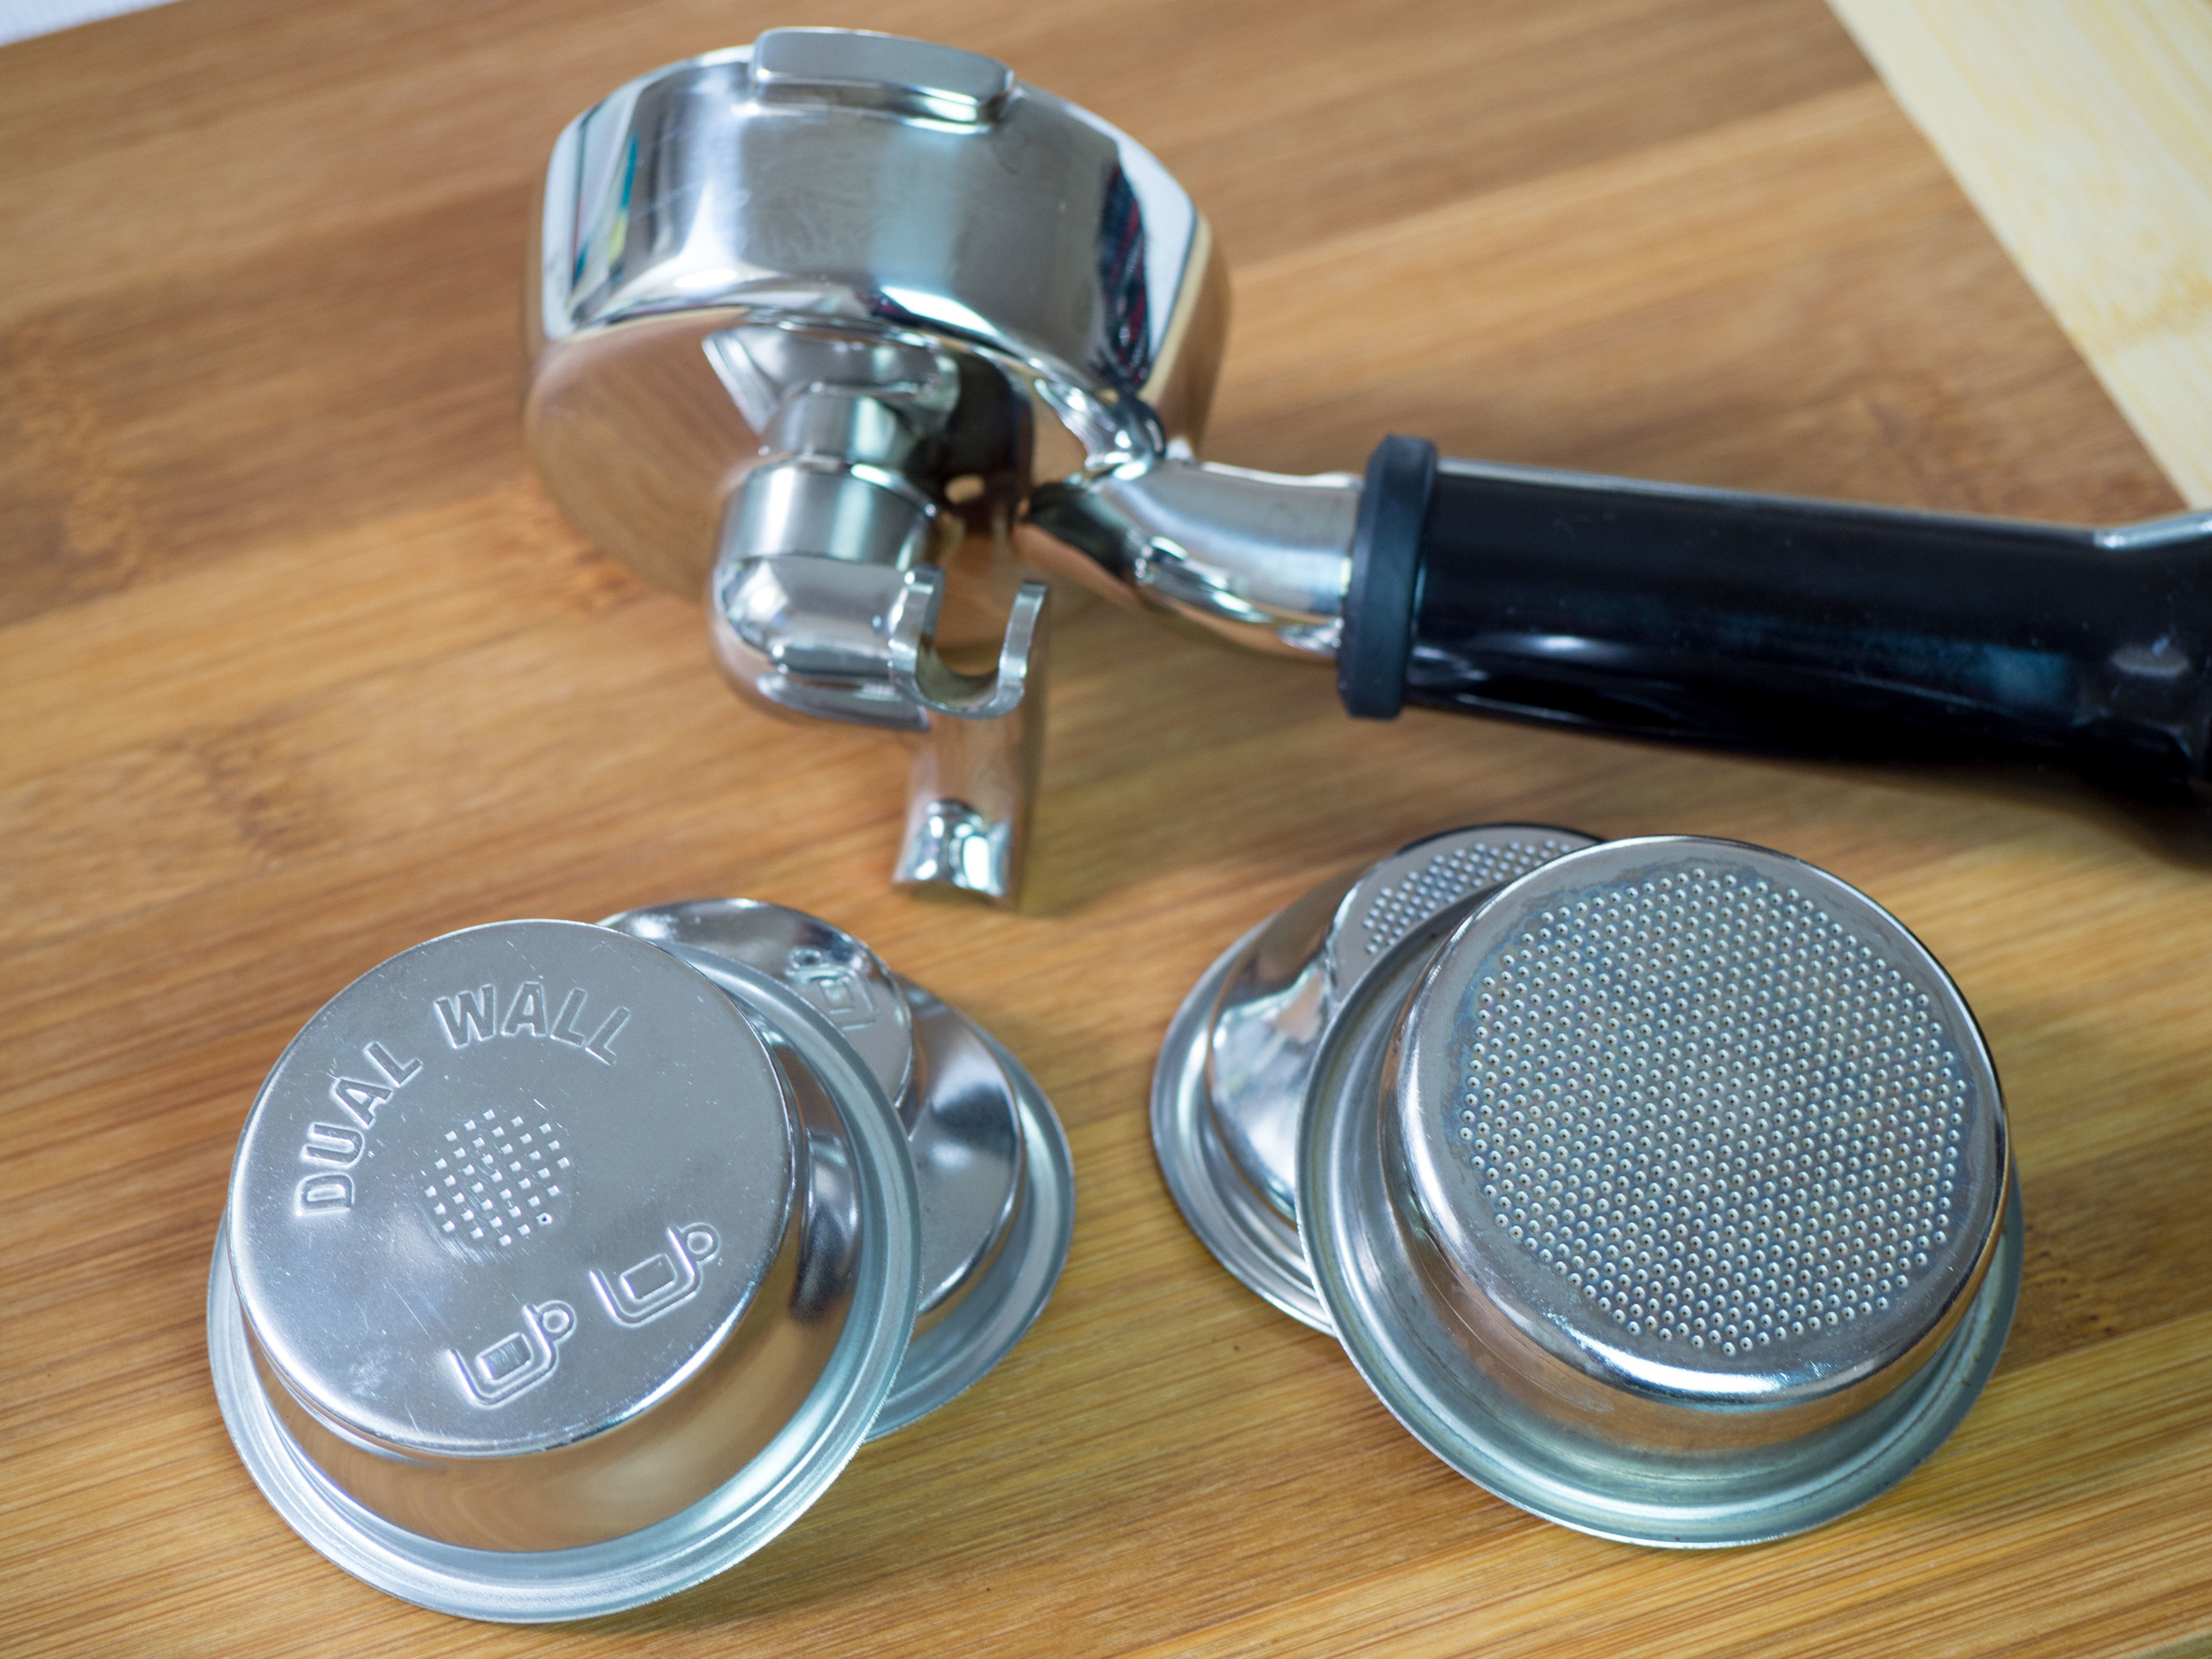
Using a Single Basket with a Breville or Sage Home Espresso Machine
When I first started using my Breville (or Sage) espresso machine at home, I quickly realized that making a perfect single espresso wasn’t as simple as just using half the amount of coffee I’d use for a double shot. The machine came with two filter baskets: a single basket and a double basket, and while the double shot was straightforward, the single shot required a bit more finesse.
What’s the Difference Between the Single and Double Baskets?
The first thing I noticed is that the single basket has a completely different shape from the double. While the double basket has a flat bottom, the single basket has a tapered or conical design. This design, though it might seem trivial, significantly impacts how the water flows through the coffee grounds. As I quickly learned, this shape often results in uneven extraction. The water flows more rapidly through the narrower bottom, leading to channeling, which causes some parts of the espresso shot to be under-extracted and others over-extracted.
This uneven flow makes it challenging to achieve that rich, balanced flavor I was aiming for. Every time I compared my single shots to a double shot split across two cups, the double shot always tasted fuller, with a richer body and a better aftertaste.

Making Adjustments with the Single Basket
However, I was determined to master the single basket. I began experimenting with a few variables that I found to be essential for success:
1. Increasing the Dose
One key tip that transformed my single-shot espressos was adjusting the dose. Initially, I assumed that I should just halve the amount of coffee I used for a double shot (around 18 grams). However, when I did that, the shot pulled way too quickly, and the flavor was flat. I found that increasing the dose slightly to around 10 grams improved the extraction time and, in turn, the taste. This small tweak helped create a richer flavor, even though I was still using a single basket.
2. Adjusting the Grind Size
Another crucial adjustment was tweaking the grind size. The first few single shots I pulled were running much faster than I wanted, signaling that I needed a finer grind. After adjusting the grinder one or two notches finer, I noticed a significant improvement in the shot time and the overall balance of flavors. A finer grind slows down the flow of water, allowing for more even extraction and a better-tasting espresso.
3. Using a Scale and a 1:2 Brew Ratio
Using a scale to weigh my coffee and measure the espresso output was extremely helpful. I stuck to a simple 1:2 brew ratio, meaning that for every gram of ground coffee, I aimed to pull double the weight in liquid espresso. For my 10 grams of coffee, I pulled around 20 grams of espresso. Sticking to this ratio helped ensure that I didn’t end up with a weak or overly diluted shot.
Purging the Grinder
Switching between the double and single baskets also required additional attention to my grinder. After adjusting the grind size for the single basket, I had to make sure I purged the grinder to get rid of any old coffee grounds that could interfere with the consistency of my shots. This step is especially important if, like me, you frequently switch between double and single baskets. Old grounds can clog the grinder and throw off the balance of your shot.
The Challenges and Rewards
While using a single basket can be more challenging than the double, I found that it was worth the effort once I got the hang of it. It required more attention to detail and patience, but the result was a clean, concentrated espresso shot that worked perfectly for drinks like cappuccinos and lattes, where I didn’t want the coffee flavor to overpower the milk.
If you’re someone who, like me, prefers a single shot for milk-based drinks or just enjoys the lighter, more nuanced flavor of a single espresso, it’s worth experimenting with these adjustments. Of course, it’s important to remember that everyone’s taste preferences and machines are a little different, so don’t hesitate to try different grind sizes, doses, and extraction times until you find what works best for you.
Final Thoughts
Using a single basket with a Breville or Sage espresso machine can be tricky at first. The conical design of the basket requires adjustments to both the dose and grind size to avoid common issues like uneven extraction. However, with patience and a bit of experimentation, it’s entirely possible to pull a tasty, balanced single shot that works perfectly for your favorite espresso-based drinks. In the end, the journey to mastering the single basket has made me a better home barista, and I’m sure it will do the same for you. Happy brewing!
